How I Built Tic Tac Toe With Javascript

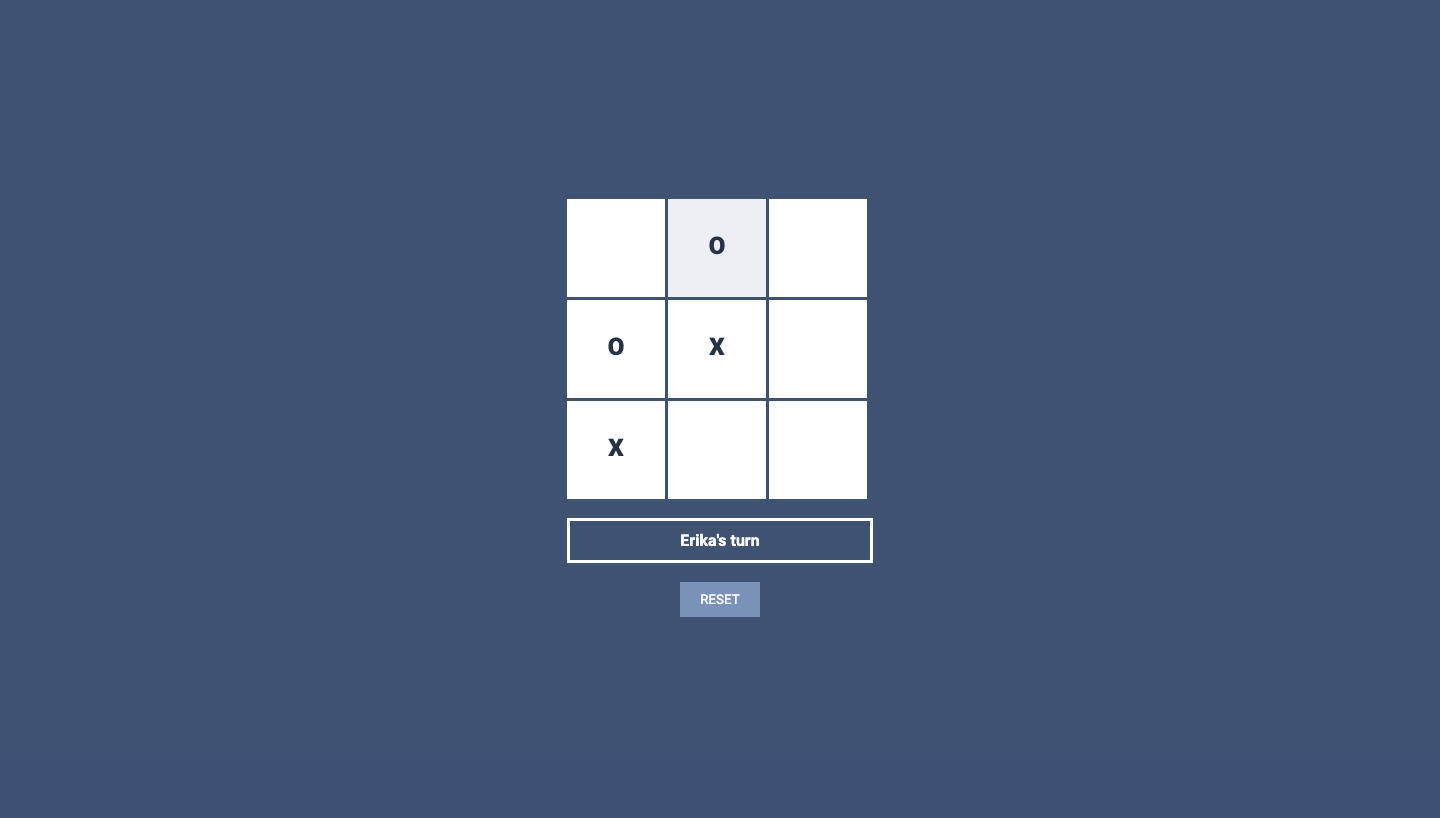
I recently built a browser 2-player tic tac toe game. Here's a preview of how it ended up looking (scroll to the end for screenshots and live preview link):

This is one of the suggested projects from The Odin Project.
Here were my goals with this:
- Refresh my Javascript knowledge
- Work with factory functions and the module pattern
- Improve my design skills
This article won't be a full breakdown of every step I took, but rather of short list of interesting things I learned (or re-learned) along the way.
Part 1/3: Getting back into JS (DOM manipulation)
I'd forgotten quite a bit since my last JS project (which was in February), so I had to refer back to it a lot to get started.
So that I remember for next time, here are the main DOM manipulations I used. The first 2 involve adding an event listener to an element and changing the text within it, respectively.
// To make an element clickable:
document.querySelector(".className").addEventListener("click", function() {
    // what happens to each .className element when it's clicked
});
// To change the text inside each spot (X and O)
// and text in other elements (e.g. the turn displayer):
div.textContent = "New text content";
The last DOM manipulation I used the most was adding multiple event listeners. For instance, each spot on the board needs to respond to a click. Here is how I made it so that each click added to a count. Side note: the purpose of the count was to determine whose turn it was. The turn, and consequently the symbol that gets displayed and the value that gets stored in the array, depend on whether the returned count is even or odd. But the thing I want to highlight here is the use of forEach, which is needed for querySelectorAll in this context.
// To add multiple event listeners:
// (e.g. adding a count each time a spot is clicked)
const clicked = document.querySelectorAll(".spot");
clicked.forEach((div) => {
    div.addEventListener("click", () => {
        arr.forEach((item, index) => {
            if (arr[index] !== "") {
                count += 1;
            }
            return count;
        });
    });
});
Part 2/3: Factory functions and the module pattern
The toughest part of this project was using factory functions and the module pattern effectively. I'm still not 100% sure how I did with this, but the game works, so I can't have been too bad 🤷🏽♀️
My strategy involved a lot of trial and error. I ended up using a Player factory function to initialize players and using 2 modules called Gameboard (which housed most of my functions) and Game (which determined game flow). A simple skeleton of my JS would be something like this:
const Player = (name, symbol) => {
    // code
    return { name, symbol, playerWins, playersTied }
};

const Gameboard = (() => {
    // code
    return { arr, addPlaceholders, playGame, resetGame };
})();

const Game = (() => {
    // code
})();
Here are 3 things I learned about by working with these structures.
1️⃣ Immediately invoked function expression (IIFE): See the parentheses at the very end of the Gameboard and Game modules? These make it so that they are immediately invoked. My understanding of these is that, in addition to saving me from having to invoke Gameboard and Game in the global scope and potentially polluting the global namespace, the immediate invocation also prevents them from accidentally being invoked more than once.
2️⃣ The revealing module pattern: Returning functions and variables at the end of the module pattern allows them to become accessible to other modules. For example, you can see functions in Gameboard's return statement above. I use all of these later on in the Game flow module, like this:
const Game = (() => {
    Gameboard.addPlaceholders();
    Gameboard.playGame();
    let resetBtn = document.querySelector(".resetter")
    resetBtn.addEventListener("click", () => {
        Gameboard.resetGame();
        resetBtn.textContent = "RESET";
    });
})();
3️⃣ Order matters: I had to move things around quite a bit because the order in which variables are declared matters. For example, I initially had Gameboard above Player in the code, but once I started trying to initialize my players in Gameboard, it resulted in an error. Moving Player to come first solved this.
Part 3/3: Colours and popups
Colours
I normally just randomly choose colours for my projects, but I wanted to be intentional this time. After a quick search, I landed here and decided to use colour scheme #3.
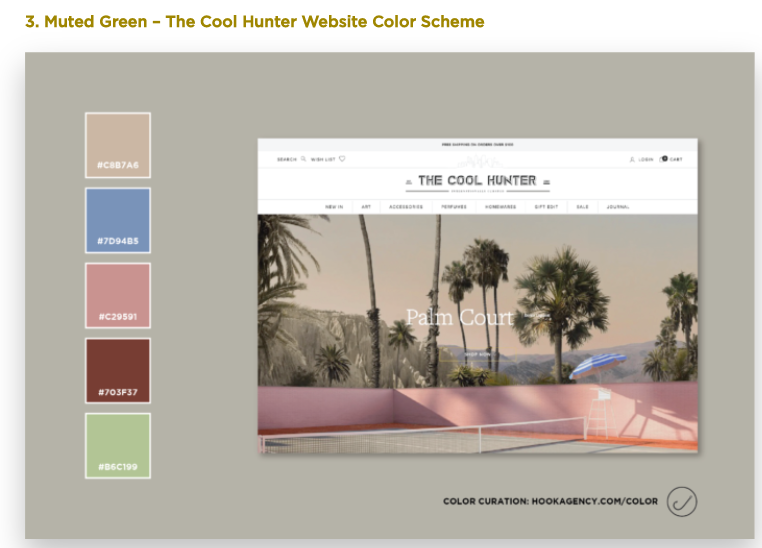
I soon realized that this wouldn't work for me. Even though these colours all looked great together, they looked a little chaotic in my design because I still didn't know how to use each colour optimally:
So instead, I picked my favourite colour from the ones in the scheme (#7d94b5) and stuck it in the Coolors colour picker tool, available here:
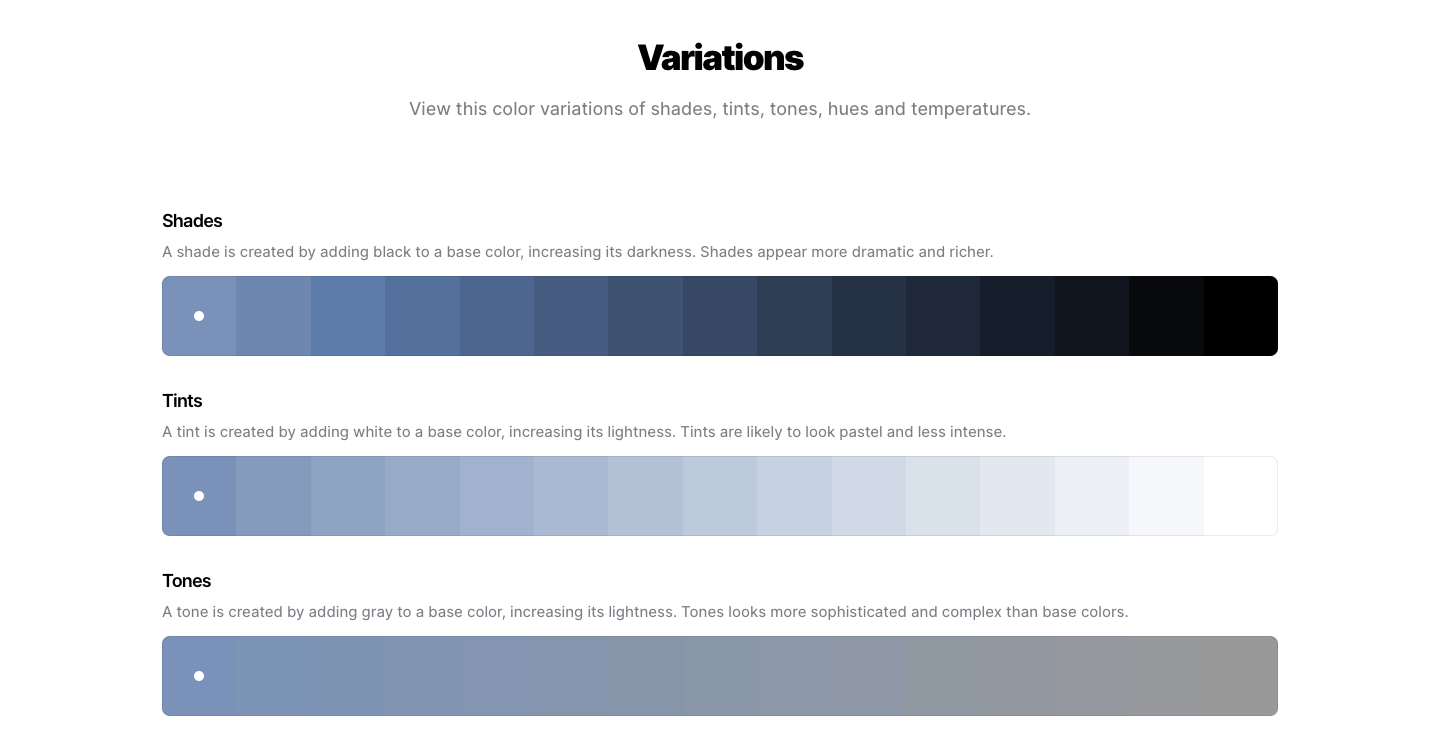
I then decided to just use shades and tints of my original colour. The resulting design looked much more elegant in my view (scroll to the end for screenshots).
Popups
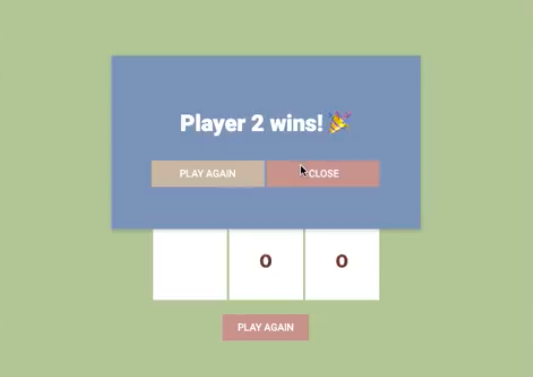
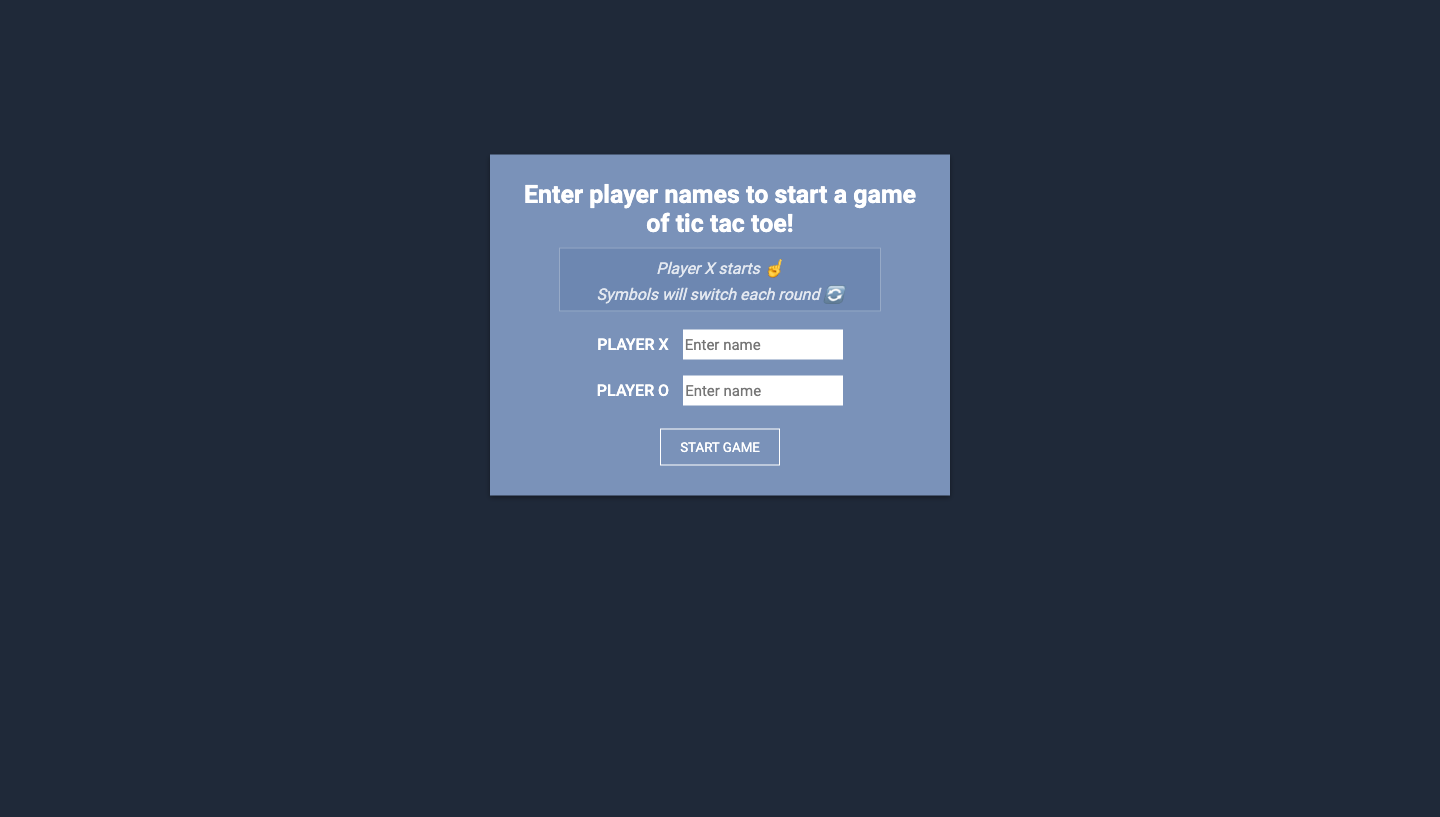
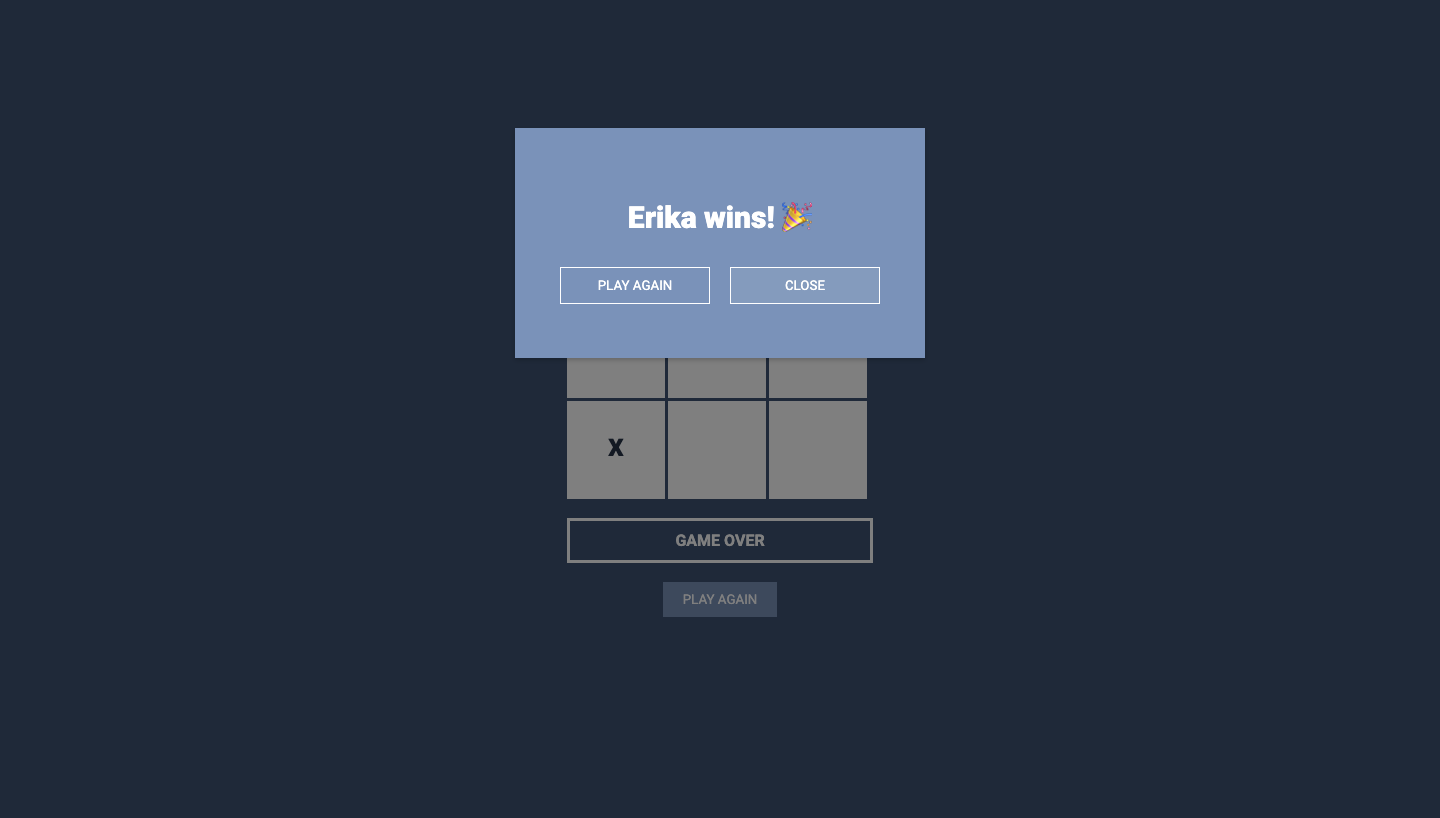
This project required 2 popups: one for players to enter their names before starting a game, and one to announce the winner.
I used this video tutorial to help me.
My main takeaway from the tutorial was the use of the visibility property in CSS. Here's how it works in a nutshell:
1️⃣ Add the visibility property to the CSS class that the popup will have at baseline
.winnerPopup {
    visibility: hidden;
}
2️⃣ Create a class that will make it visible
.openWinnerPopup {
    visibility: visible;
}
3️⃣ Add class in JS to the relevant popup when you want it to show
const playerWins = () => {
  setTimeout(() => {
            winnerPopup.classList.add("openWinnerPopup");
            winText.textContent = `${name} wins! 🎉`;
  }, 300);
}
Easy peasy! And I used classList.remove when I wanted to hide it again.
The final product
Live preview here and code here. Scroll to the end for final notes and resource list.
This project was a lot of fun. I got stuck quite a bit, but found myself working through bugs faster and faster as I went along. I can't wait to get started on my next project!
If you would like to join me on my web development journey, feel free to connect with me on Twitter (where I'm currently participating in #100daysofcode) or to check out my other projects on GitHub 😊
- Tweets: https://twitter.com/erikavar6
- Code: https://github.com/erikavar
Thanks for reading, see you next time!
Erika
Resources
All the links mentioned in this article:
- The Odin Project: https://www.theodinproject.com/lessons/node-path-javascript-tic-tac-toe
- Colour scheme examples: https://hookagency.com/blog/website-color-schemes/
- Colour picker tool: https://coolors.co/color-picker
- Popup tutorial video: https://www.youtube.com/watch?v=AF6vGYIyV8M
